DIY Swatch Cards
Now that you’ve got all your Kona cards cut up into individual swatches, it’s time to level up and make swatch cards for your other favorite fabrics! Once again, here’s an infographic if you want the short and sweet version of this post:
But if you like to read or prefer the road less traveled, then sit back for a quick minute and I will indulge you by talking about the how-to in greater detail. I promise the following is still fairly quick because again, less chit-chat, more quilting, right?
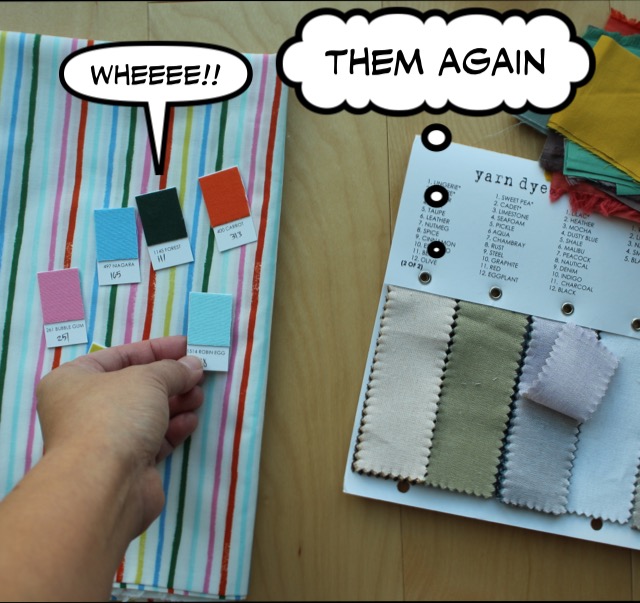
To start, if you’re like me, you want your swatches to have the same playtime opportunity. In the past few months, I’ve noticed that I was using my cut-up Konas more than my other swatches, simply because they were more portable and easier to handle. As you can imagine, my other swatches were getting sad and resentful because the Konas were getting all the attention.
The animosity between the two got out of hand. It was Jets vs. Sharks round two. There was no other choice. I had to intervene.
Luckily, the solution was easy because I only found one answer. It was time to cut up my other swatches!
If you haven’t already cut up your Kona color card, no worries! I highly recommend doing so because the instructions I’m about to tell you conform to the cut-up Kona cards. Here’s my previous post with more info on cutting your Kona color card.
Materials
Heavy Cardboard
Magnetic Sheets
Ruler
Scissors
Non-fabric scissors
Pen
Clear Glue Stick
INSTRUCTIONS
STEP ONE: With your regular scissors or rotary cutter, cut your heavy cardstock to size. If you’re into repurposing, you can probably make do with cardboard boxes around your house such as cereal boxes, old gift boxes, shoe boxes, or in my case, the backing board that my daughter’s school pictures came with. Mine is cut to 7/8” x 1 5/8".
STEP TWO: Cut your magnetic sheets, small enough to fit at least the top half of your cardboard pieces. Mine is measured 3/4” x 1”. Stick it in the back (the top half) of your cardboard piece.
Reminder not to use your fabric scissors/rotary cutter to cut your cardboard and magnetic sheets! Keep your precious fabric scissors sharp!
STEP THREE: With your fabric scissors, cut your fabric swatch, large enough to fit at least the top half of your cardboard pieces. My fabric samples are measured at 7/8” x 1”.
STEP FOUR: Use white glue on the top half of the front of your cardboard piece. TIP: Don’t smear glue on the fabric itself. That can get messy. Stick it on the top half of your cardboard piece.
STEP FIVE: Label!
All your swatches can play freely now! Mix and match ‘em up!


